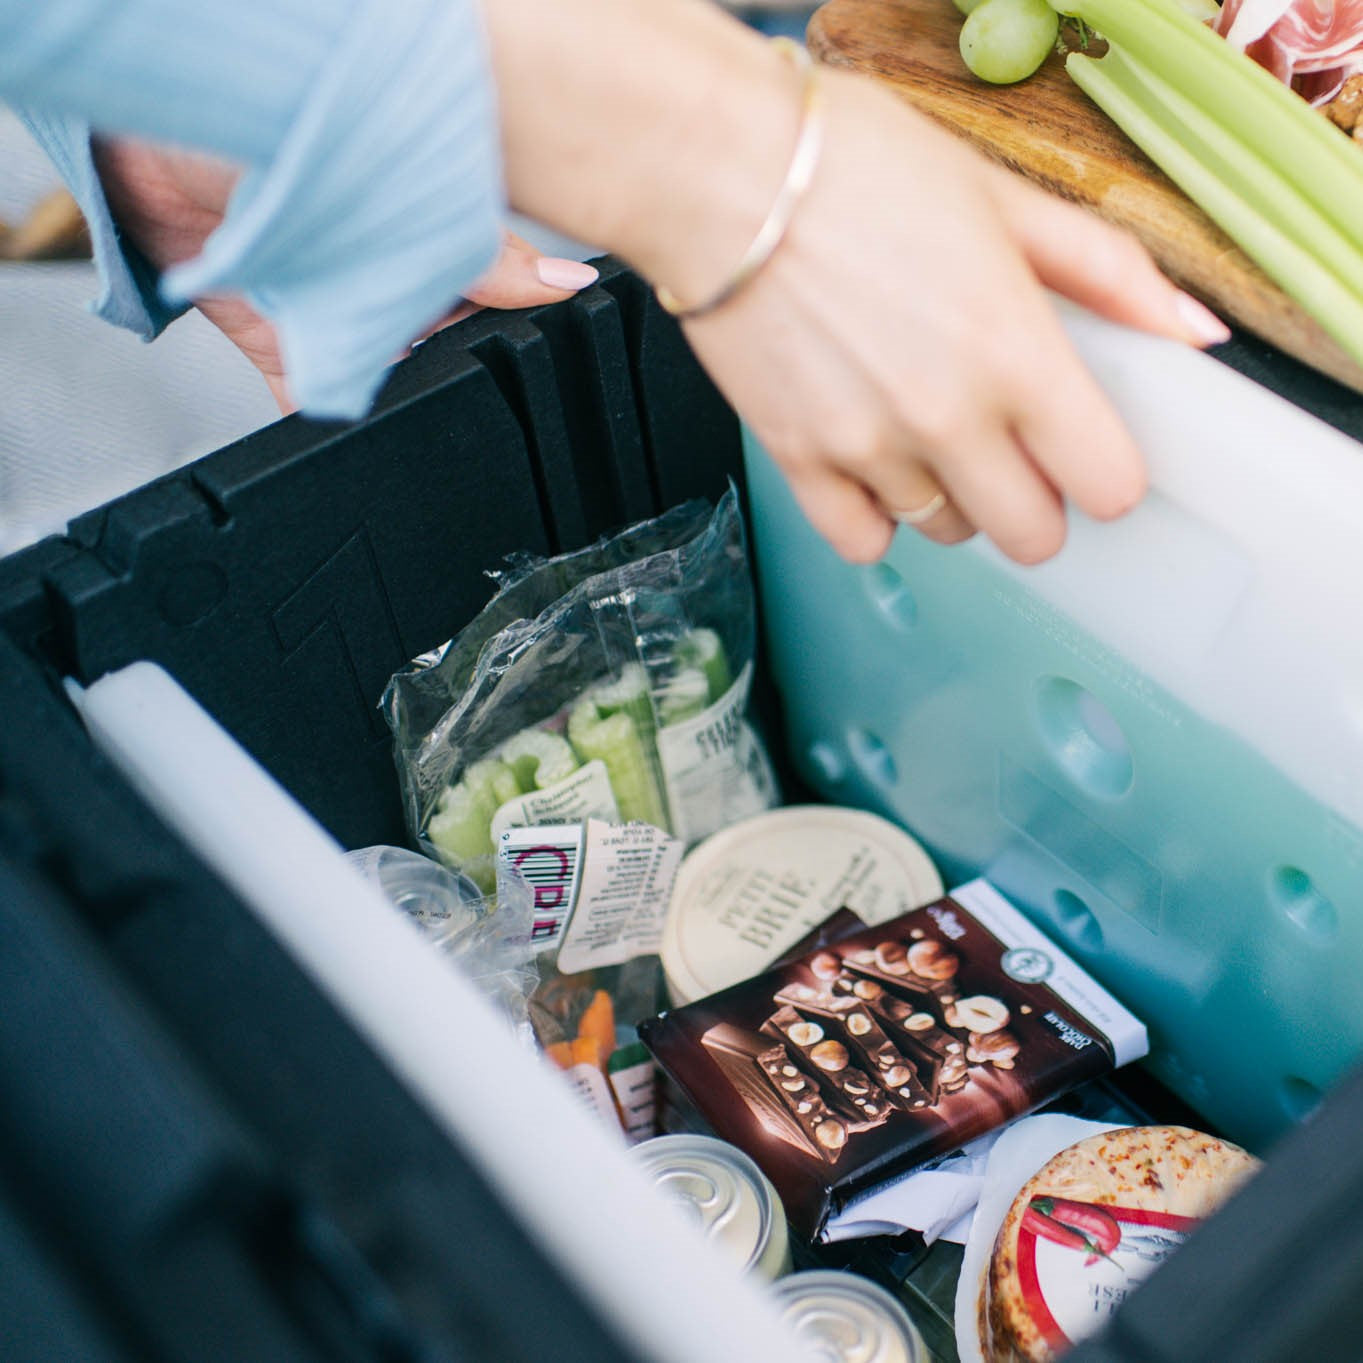
The bouncee system gives complete freedom to pack it out just the way you want it - whether it's keeping groceries chilled during your daughter's sporting game or delivering a hot home-cooked meal to a friend in need.
The ice bricks and thermal dividers can be used to create different temperature zones for chilled, frozen, ambient and hot goods. We also use them to separate food and drinks from gear like sunscreen and towels when heading to the beach or fishing.
In this guide, we'll take you through some layout examples and touch on best practices for maximum temperature control.
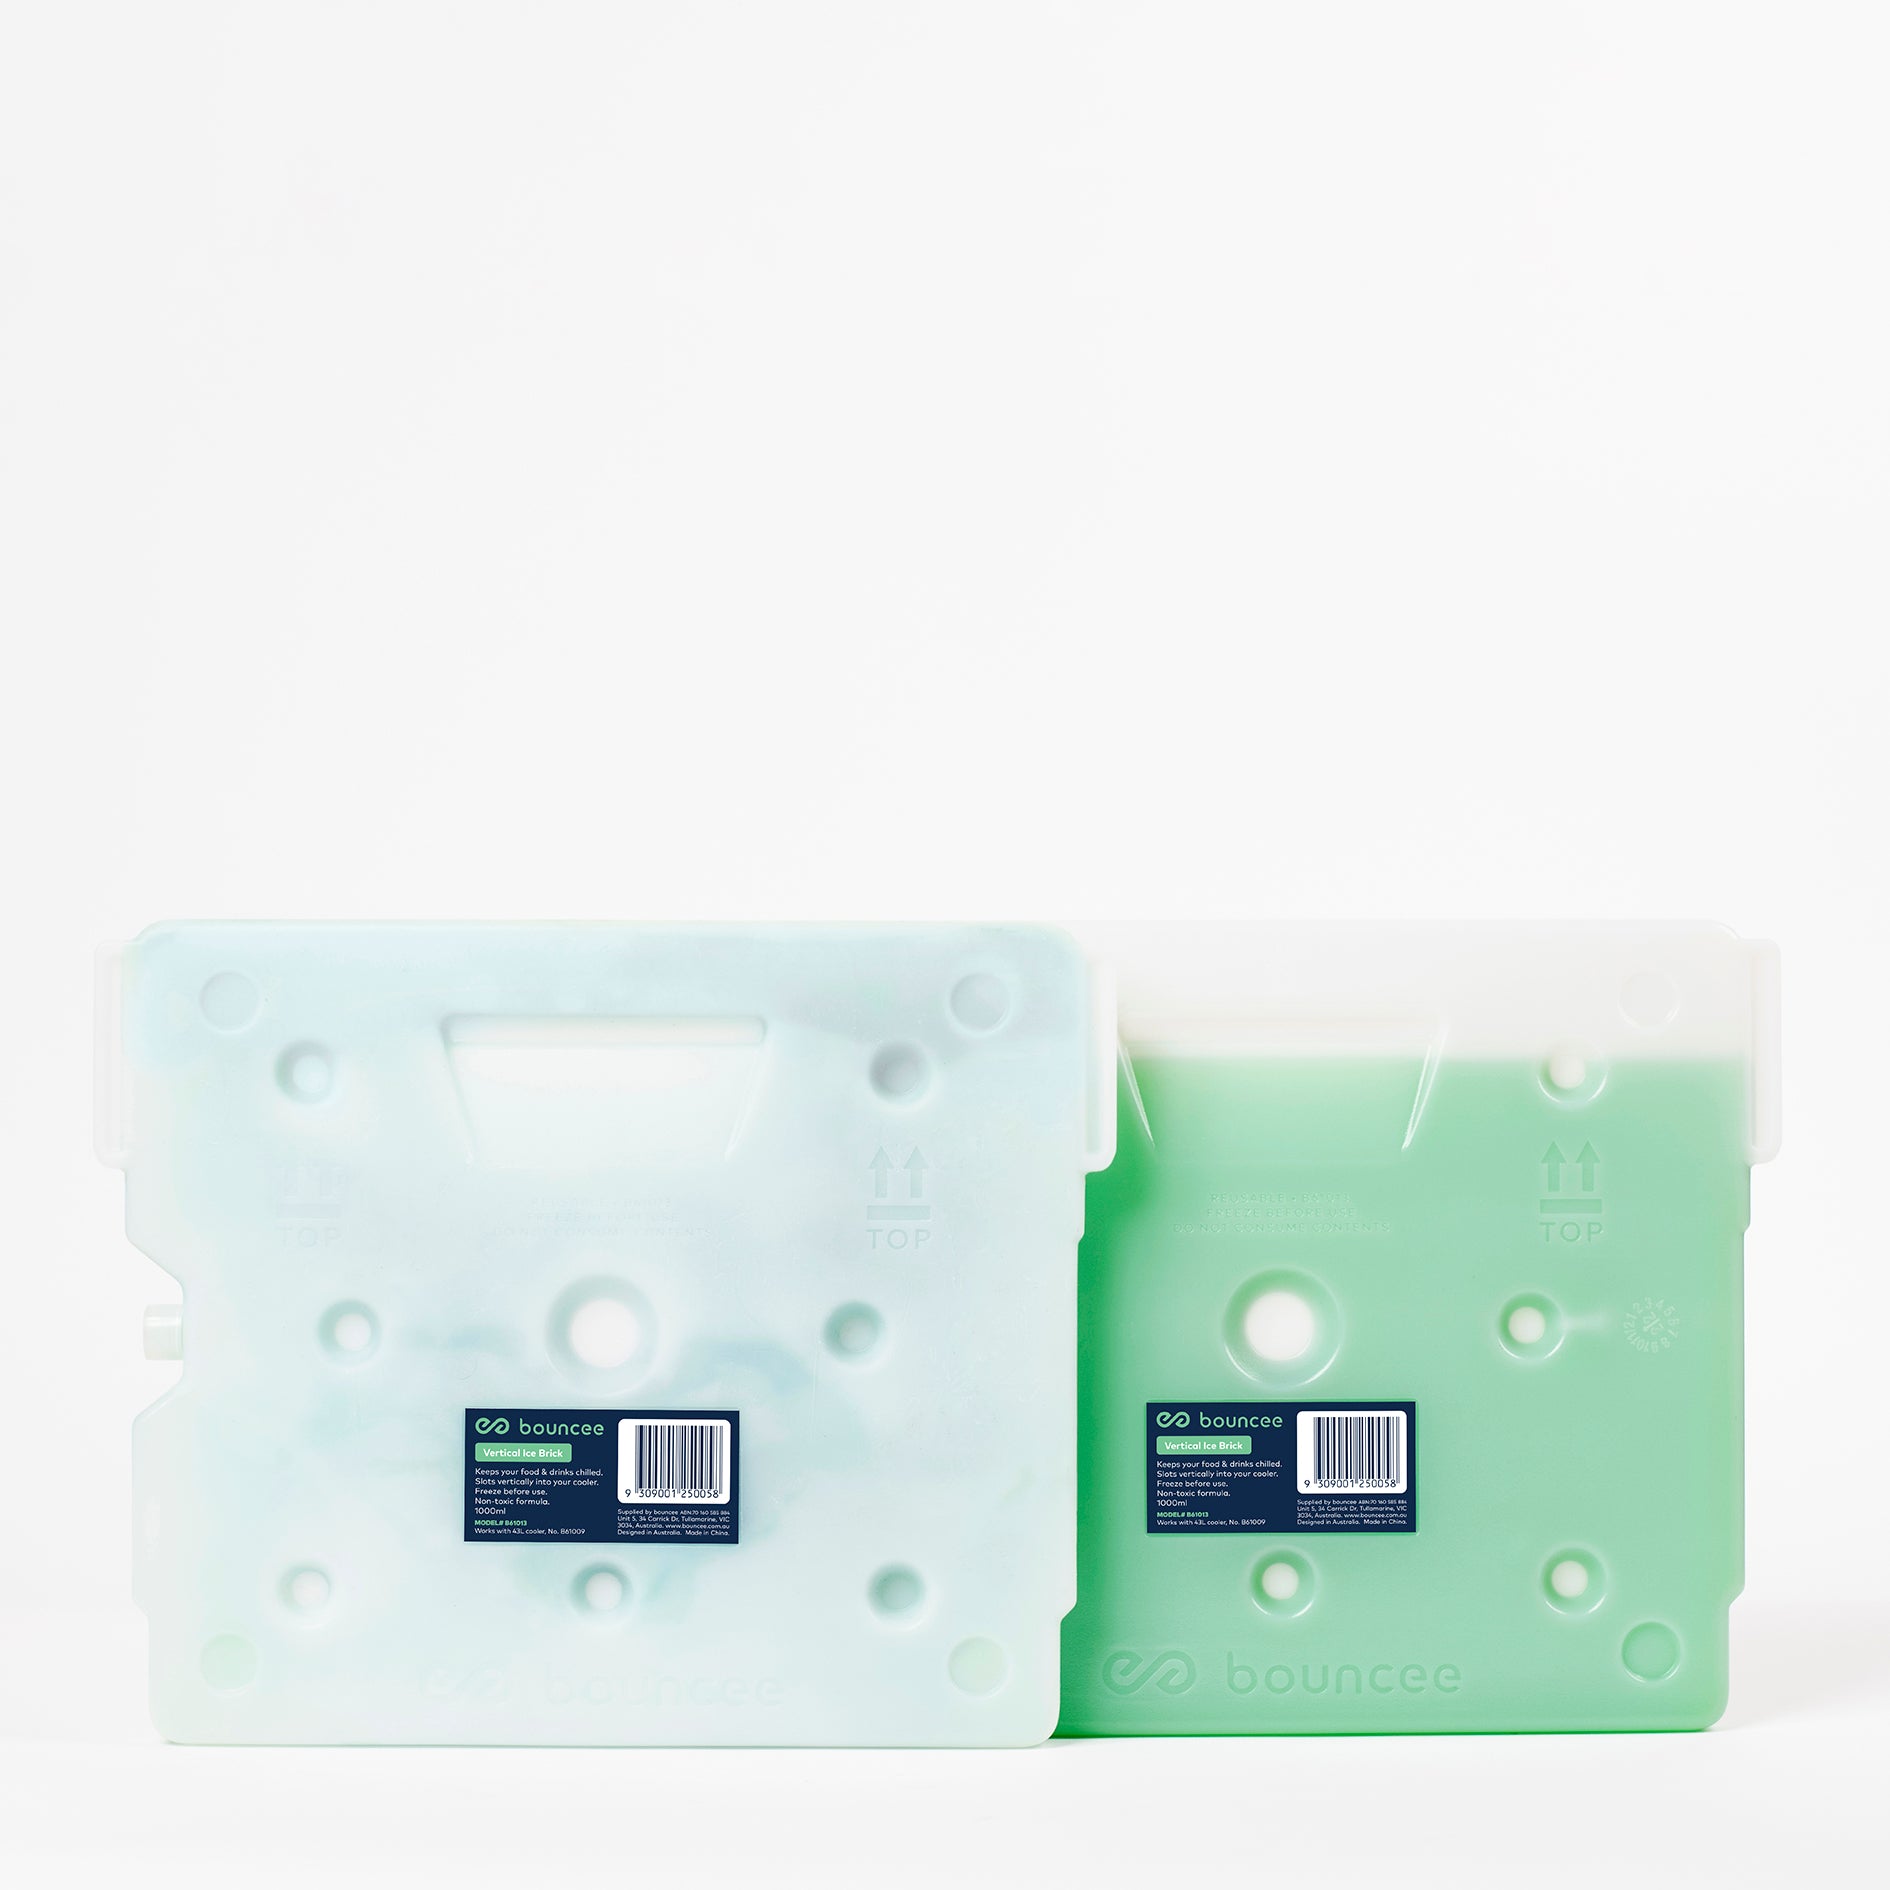
The accessories:


Make endless layouts possible:

The best for temperature control:
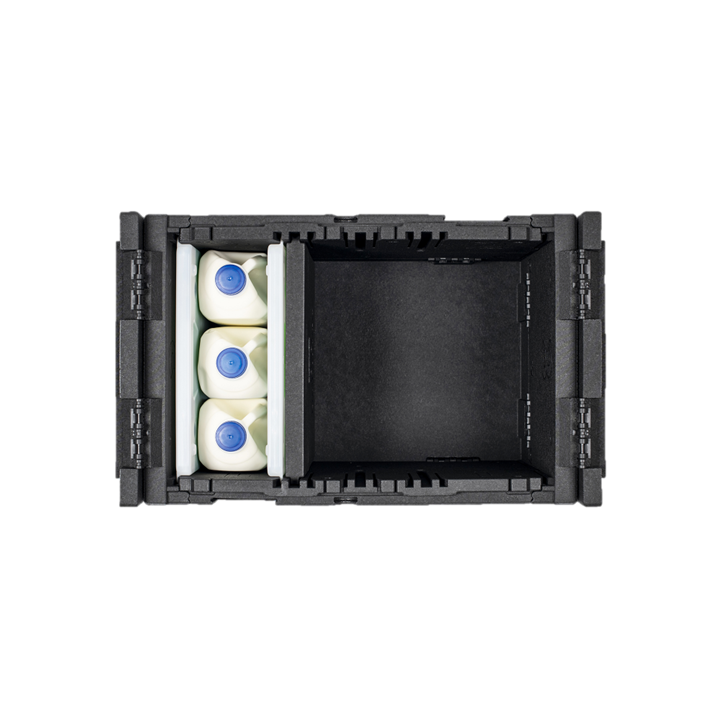
One-third Cooler:
One vertical brick on the end wall with small ice bricks on the top and bottom. The vertical divider is in the closest slot.
Add more ice bricks to the top or between layers to extend performance again.

Half Cooler:
One vertical brick on the end wall with half bricks on the top and bottom. The vertical divider is in the middle slot.
Add more ice bricks to the top or between layers to extend performance again.

Two-thirds Cooler:
Two vertical ice bricks on each end, with two small bricks on the top and bottom. The vertical divider is in the third slot.
Add more ice bricks to the top or between layers to extend performance again.

Full Cooler – Option 1
Vertical bricks at each end, two small bricks + one of the half bricks on the top and bottom.
Add more ice bricks to the top or between layers to extend performance again.

Full Cooler – Option 2
Full horizontal ice bricks on the bottom and top. Horizontal divider on top if there is room.
Add more ice bricks to the top or between layers to extend performance again. 
Hotbox:
You can also keep food at hot temperatures on the way home from a takeaway pick-up or on the way to a dinner party.
For this, we recommend using the cooler as follows:
- Empty for bulk goods
- With the vertical divider to minimise the compartment size.
- With the horizontal divider on top to trap the heat low in the box.
- With heat packs or hot water in sealed containers to extend timeframes.


Other pro tips:
Signing off:
As you can see, the bouncee system gives you complete freedom in packing and organisation.
If you don't have all our accessories, don't worry, you can also replicate these layouts with any reusable ice bricks you already have. We have been collecting from meal and grocery delivery services for years! Another great alternative is repurposing old soft drink bottles, milk bottles or other leak-tight containers to make your own ice bricks.
Although collapsible coolers can’t hold water, you can also use loose ice from the servo by putting it in sealed bags or other containers!
Remember, bouncee coolers are designed, made and supported in Aus – feel free to contact us with any questions.