In this guide, we'll take you through some basics for using your bouncee cooler, from folding it up, to collapsing it down at the end of the day to reclaim your boot or garage space.
Folding Up:
When you're ready to embark on your next adventure, it's time to unfold your bouncee cooler and assemble it. Follow these simple steps to get it ready for packing:
- Find a flat surface to work on.
- Unfold the two ends and stand them up vertically.
- Lift the long sides and press them firmly in the top corners to lock them.
That's it. You're done! With your bouncee fully open, you're ready to pack it.
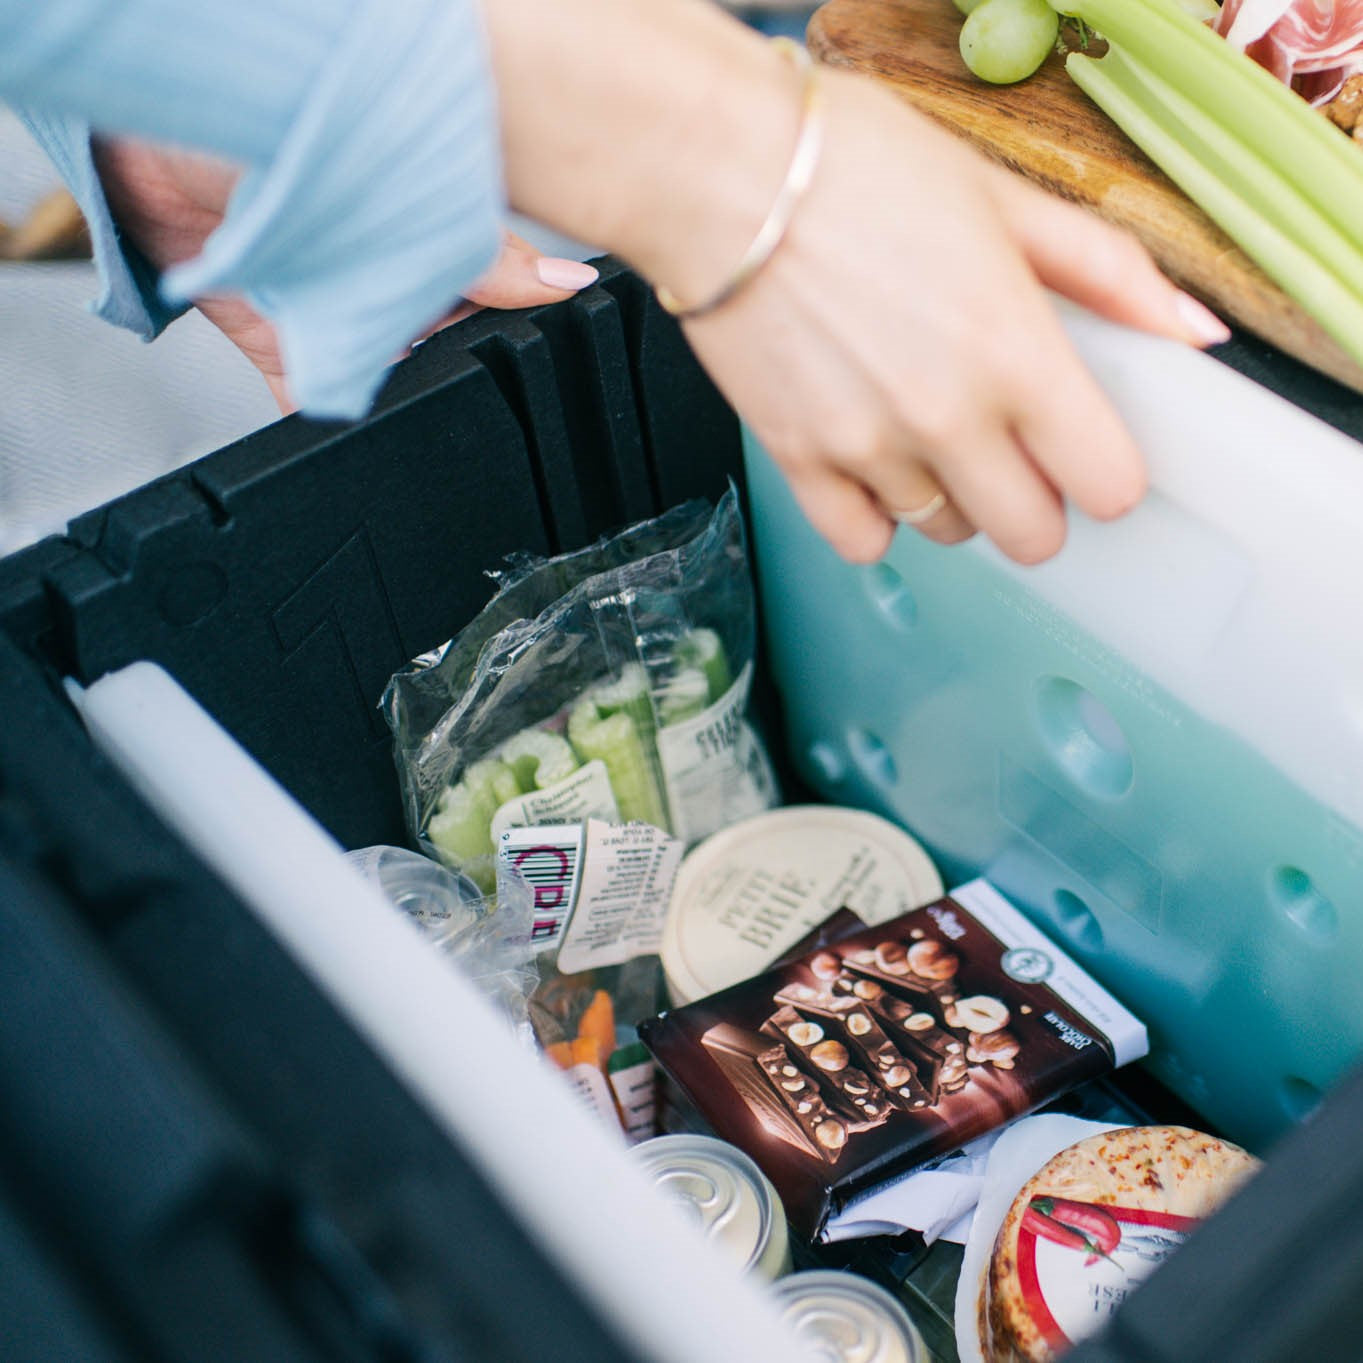
Using:
The bouncee cooler offers serious flexibility, allowing you to pack it out in various ways depending on your needs. Here are three of our favourite layouts:
1. Cooler alone: 
- Ideal for keeping food hotter for longer.
- Perfect for short trips when you don't need to use ice.
- Great for bulk chilled goods reusing your existing ice bricks.
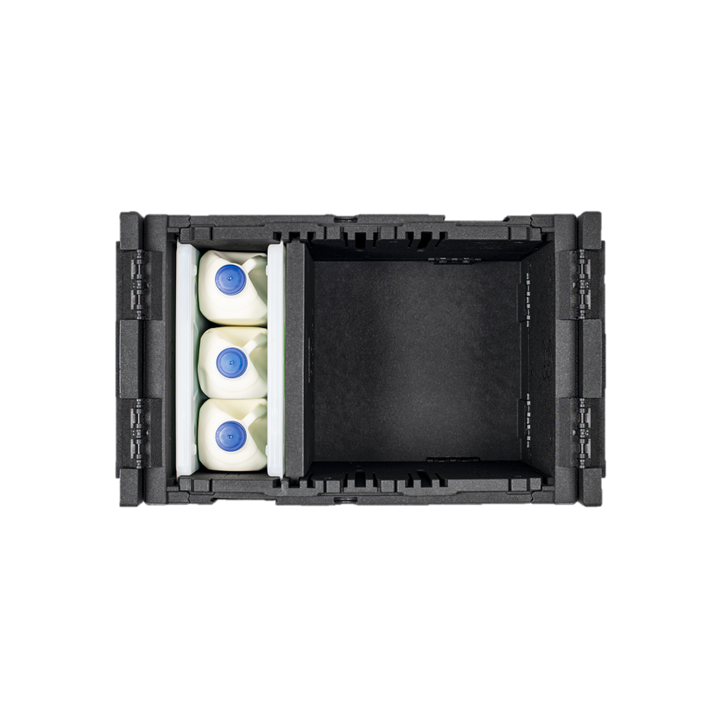
2. Vertical ice bricks + thermal divider:
- These accessories slot into the cooler, creating compartments for different temperature zones.
- Fits common milk, juice, and soft drink bottles upright.
- Excellent for combining a small amount of chilled goods with the rest of your gear on the other side.
3. Half and half: thermal divider + half ice brick: 
- Creates one cold and one ambient compartment, allowing you to combine gear and perishables. Also great for cold food and pantry items or separating drinks from food.
- Provides better thermal performance than vertical bricks as an ice brick on top cools down the rising heat. You can also layer them up and place as many as you need on top for longer trips.
Pro tips:
Folding down:
When the day is done, it's time to fold down your bouncee cooler and reclaim your space. Follow these simple steps:
- Pop the lids open using the finger hole and fold them back.
- Empty the contents and return the ice packs to the freezer.
- Push firmly on the first long side with the big "1" marking, flattening it completely.
- Repeat step 2 for the second long side with the big "2" marking.
- Push down the two end walls, and you’re done!

Signing off:
With their user-friendly design, bouncee coolers are here to enhance experiences and make your downtime more enjoyable. Now that you have mastered the basics, you can effortlessly adapt them to any adventure you have in mind.
If you want to learn more about the layouts for ice bricks, we highly recommend our article: Accessories: layout guide.
Remember, bouncee coolers are designed, made and supported in Aus – feel free to contact us with any questions.
